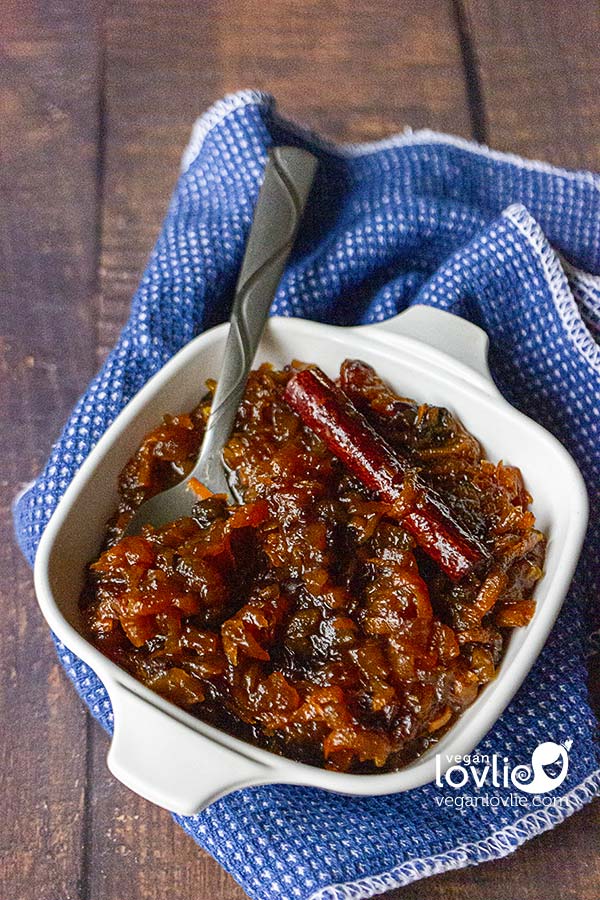
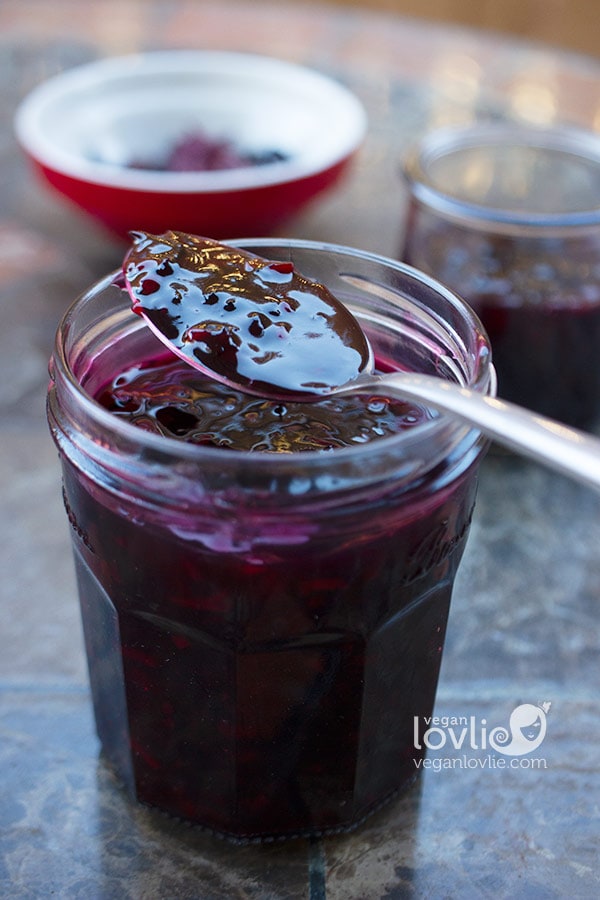
It's been a while since I posted some crafty things on here. Ever since I got
my first batch of paper beads from
Paper to Pearls™, I have been fascinated by them; they look so gorgeous that you wouldn't think they are made of paper. The batch I got have a nice selection of beads from which I've made a lot of nice jewellery, earrings being my favourite.
However, I kind of wanted to make some of my own. Not that I will stop buying from Paper to Pearls and support them, but I have a lot of paper, junk mail leaflets, old magazines, left-over gift wrap paper etc around the house that could benefit from a little upcycling and turned into great looking and eco-friendly jewellery.
So, here's how I make them myself - a little project that might keep you busy if you are after some crafty thing to do.
How to make Paper Beads
You will need:
- Colourful pages from old magazines, calendars, gift wrap paper or any colourful paper. You will lose the designs on the paper as you roll them into beads, so just try out different papers to see the effects you get. But remember the thicker the paper the fatter the bead!
- Scissors
- Pencil or pen
- Ruler (preferably a long one)
- Toothpick (or needle)
- Liquid glue (paper or all-purpose craft glue will do)
- Resin or Clear varnish - most clear varnishes from local store will do or nail varnish.
- Any other jewellery items like wires, threads to make the beads into jewellery.
First lay your paper flat. Measure 1cm intervals on one side. On the other side start with 0.5cm then 1cm intervals from it. Score the paper. Depending on the size you want your bead to be you can increase / decrease the width.
You can experiment with different shapes of paper cutting; this will result in beads of different shapes.
Cut along the lines.
For the next steps:
- Take your toothpick and starting at the thickest end of the strip.
- Start rolling it tightly around the toothpick. Using your nails to catch it in at first.
- Ensure to keep the paper central.
- Apply a dab of glue at the end.
- Roll the last bit and press down on it for a few seconds to hold the bead in place.
- The finished bead.
The finished beads.
If you are making a small batch, you can leave them on a toothpick each (this is what I tend to do). Some people thread the beads on plastic wire or fishing string. Whichever you choose, make sure the string is thick enough for a snug fit and the varnish cannot seep in to block the holes.
If using resin, prepare according to package instructions. I use a 2 part epoxy resin.
Start varnishing. I use a brush and give them at least 2 coats of resin / varnish. Leave to dry for 2-3 days, and your beads are ready to use!
You can use some firm foam or anything you can hold the toothpicks on. The only thing I had on hand was a potato!
Make into jewellery: earrings, pendants, necklaces... You can add other beads and charms, hooks and wires; I leave it to you imagination. I hope you've liked this tutorial.

But then again, if you already have enough to do and would rather just buy some, you may want to have a look at some paper bead jewellery in
my shop.
For more handmade jewellery visit the
Bijouxlovlie store.